To address these needs, Booknify offers a built-in Form Builder, allowing you to create custom forms without any coding or HTML knowledge. This eliminates the need for extra disk space or additional third-party form tools, making it a seamless, all-in-one solution for customizing your booking process.
Built-in form builder
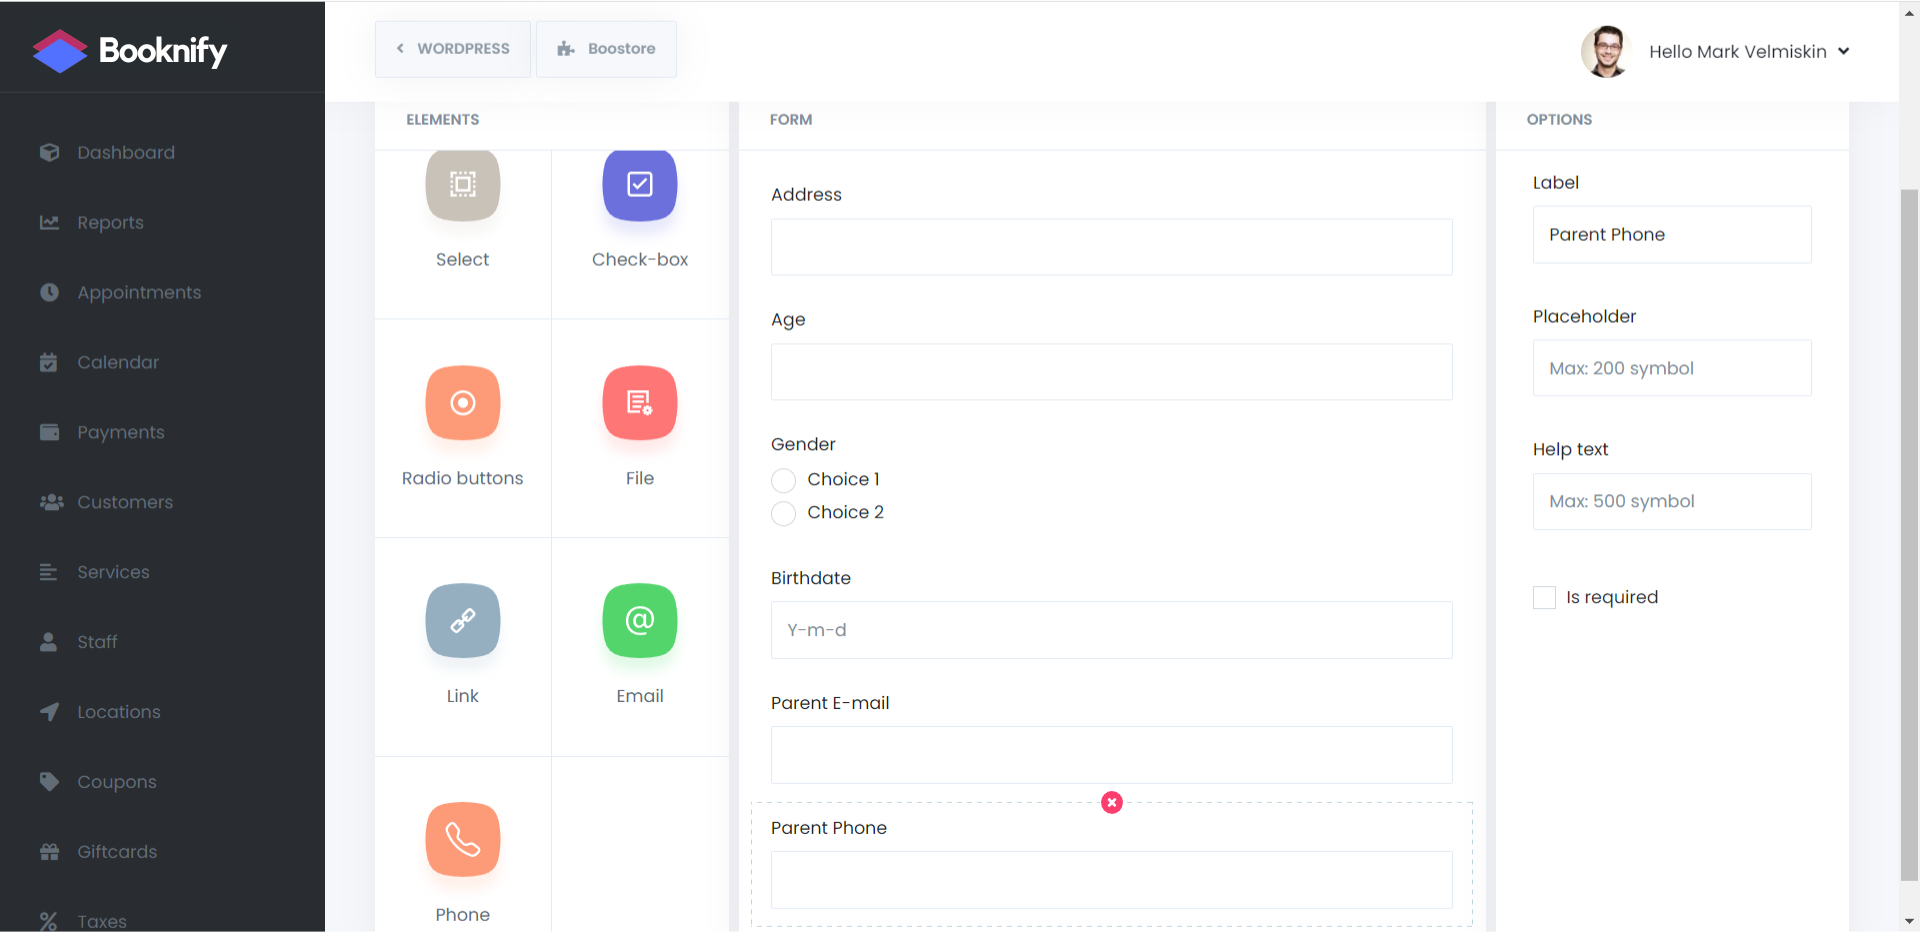
With Booknify’s Form Builder, you can customize fields in the front-end booking panel to collect specific information from your clients. This multi-functional Form Builder allows you to use multiple forms simultaneously, with a variety of input types to suit different needs:
- Label – Add text labels without functionality.
- Text Input – Collect brief information, like a word or short sentence.
- Text Area – Suitable for more detailed responses.
- Number Input – Ideal for capturing numeric information.
- Date Input – Allows clients to enter dates, such as birthdates.
- Time Input – For clients to specify specific hours.
- Select – Provides multiple-choice options.
- Checkboxes – Adds checkboxes for options like terms and conditions.
- Radio Buttons – Lets clients choose from multiple options.
- File Upload – Enables file uploads, such as images, with selectable file formats.
- Link – Use to add hyperlinks in your form.
- Email – Collect additional email addresses for direct notifications.
- Phone – Collect phone numbers for direct notifications.
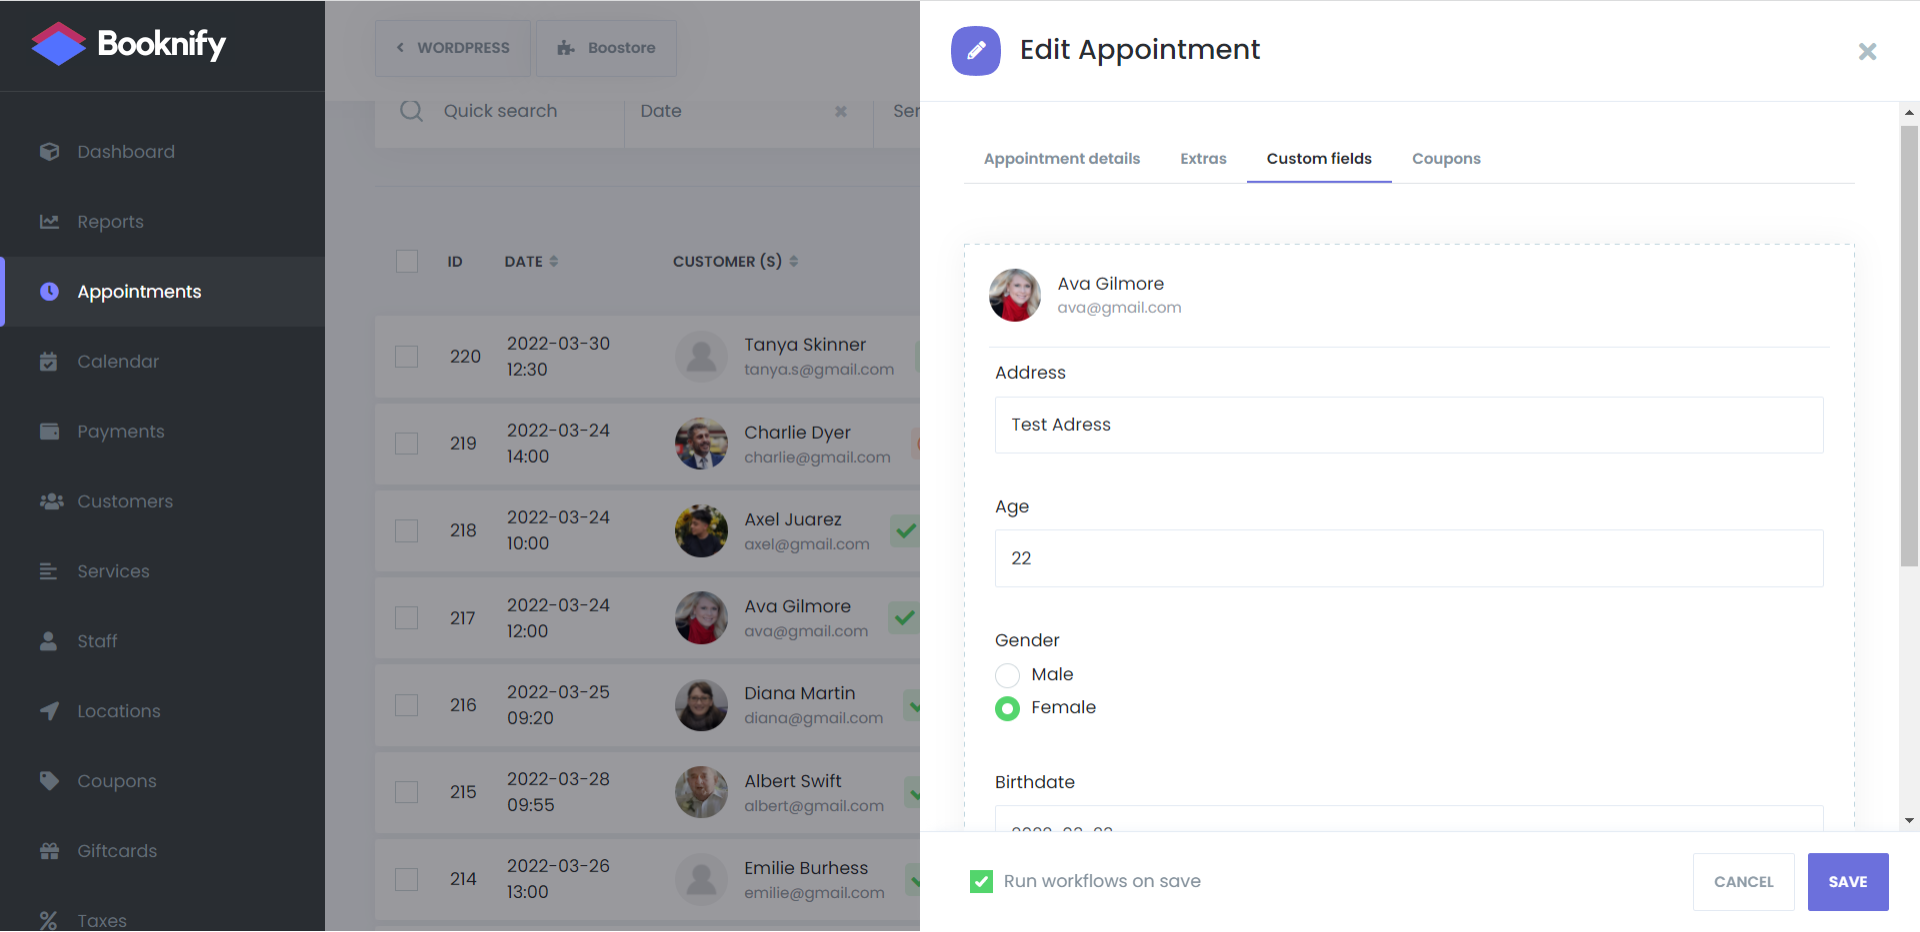
After creating and saving your custom form, it will appear in the Information step of Booknify’s front-end interface. Once a client completes an appointment, their responses are saved along with the other booking details, enabling seamless data collection tailored to your business needs.



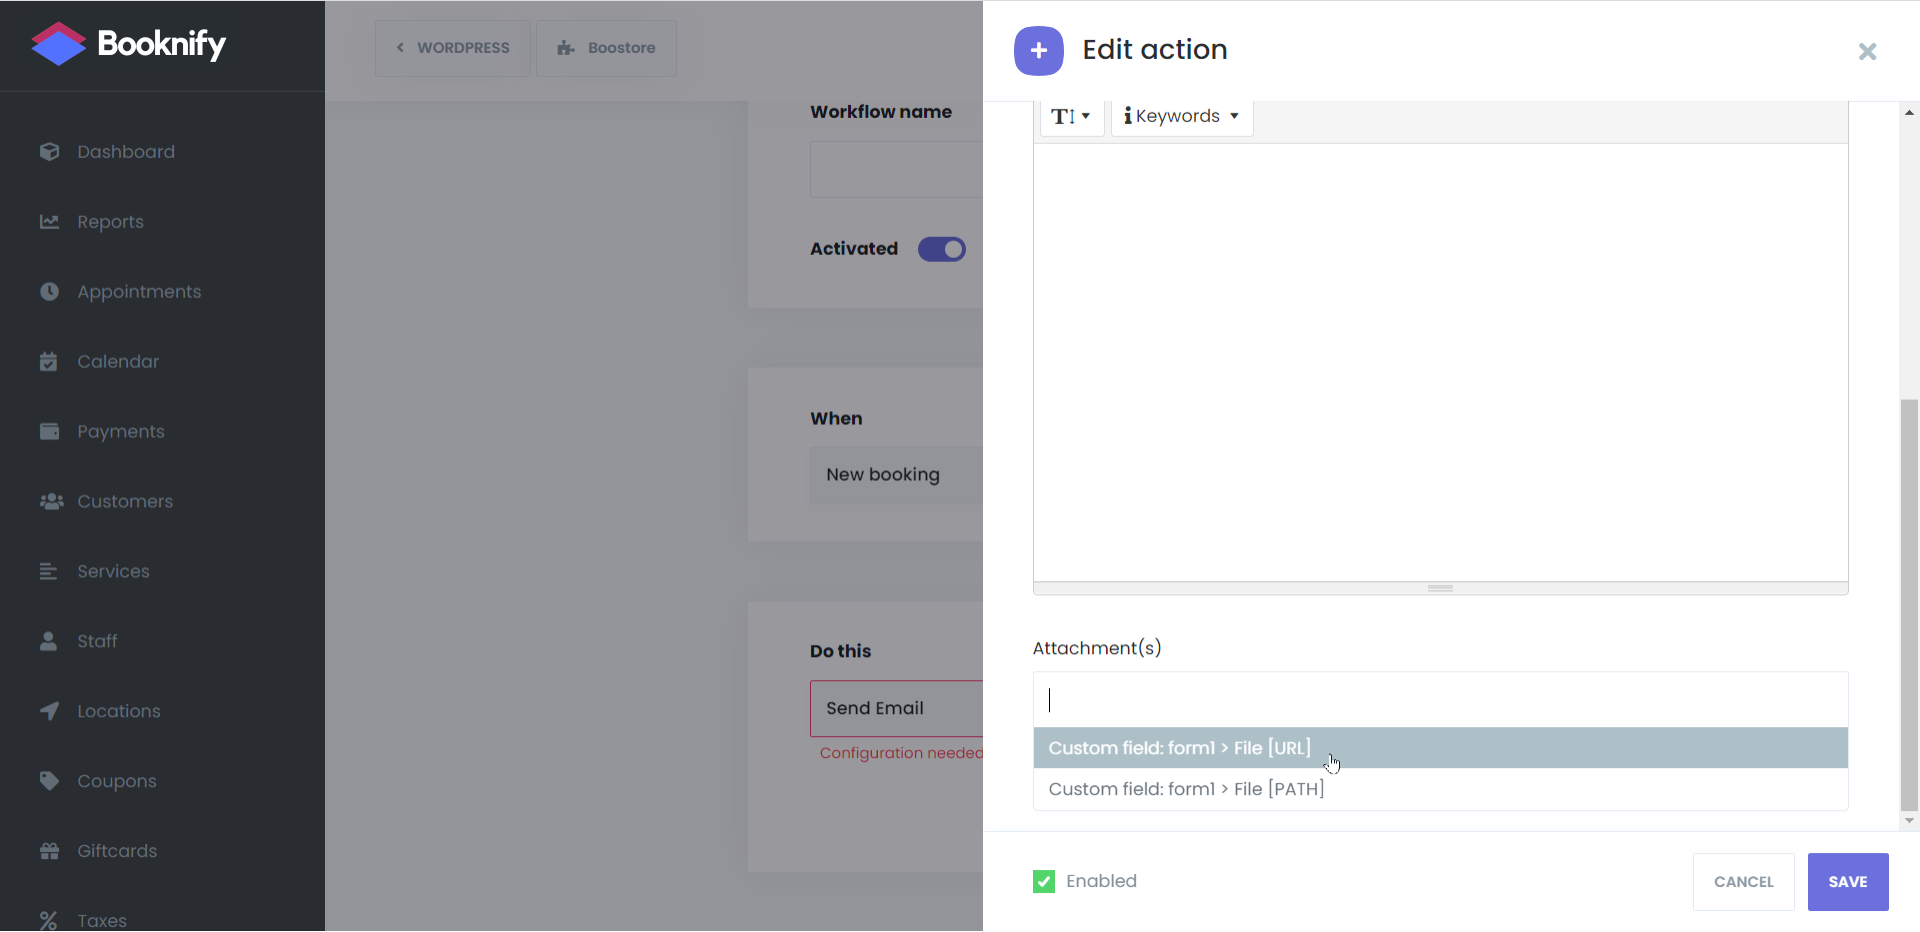
Conditional Fields
With Booknify’s advanced conditional fields feature, you can set specific conditions to display fields only in particular scenarios. This feature provides more flexibility than typical market offerings, allowing conditions to be applied to almost any field. You can use various logic terms—such as showing, hiding, or setting values based on customer actions.
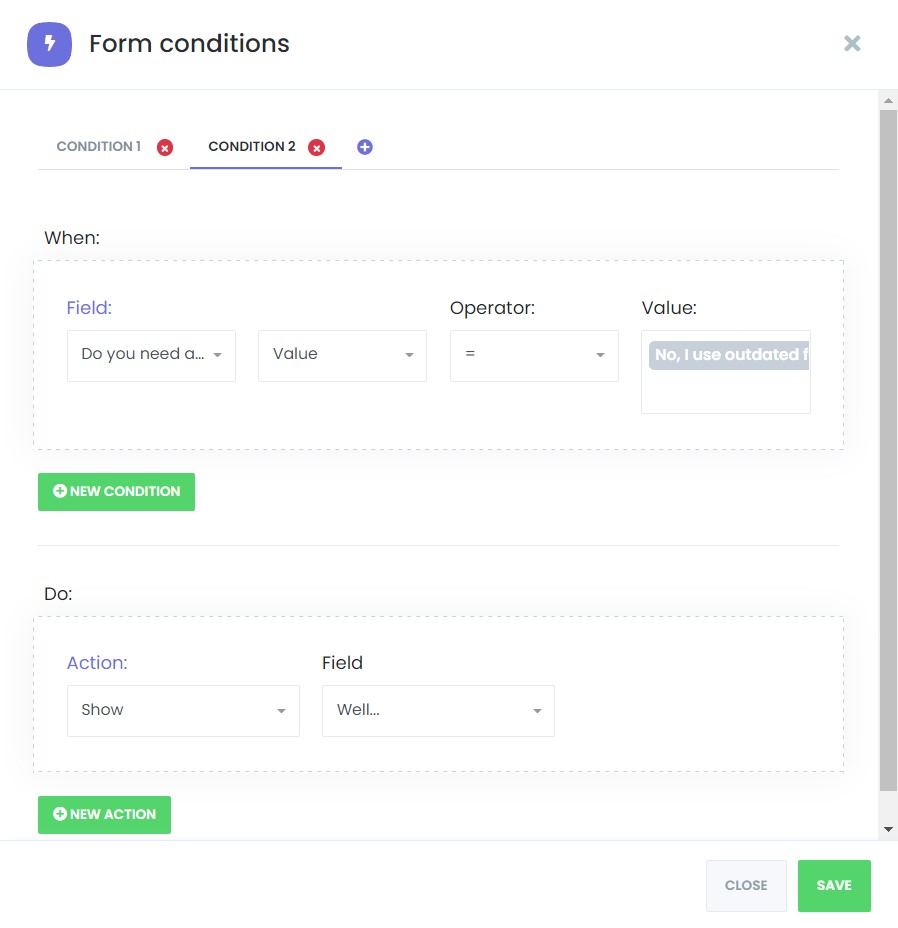
For example, you can create a form where a field appears only when a specific checkbox is selected. Let’s look at how it works through screenshots: first, create a checkbox or radio button to offer choices, then add additional fields that display based on the customer’s response.
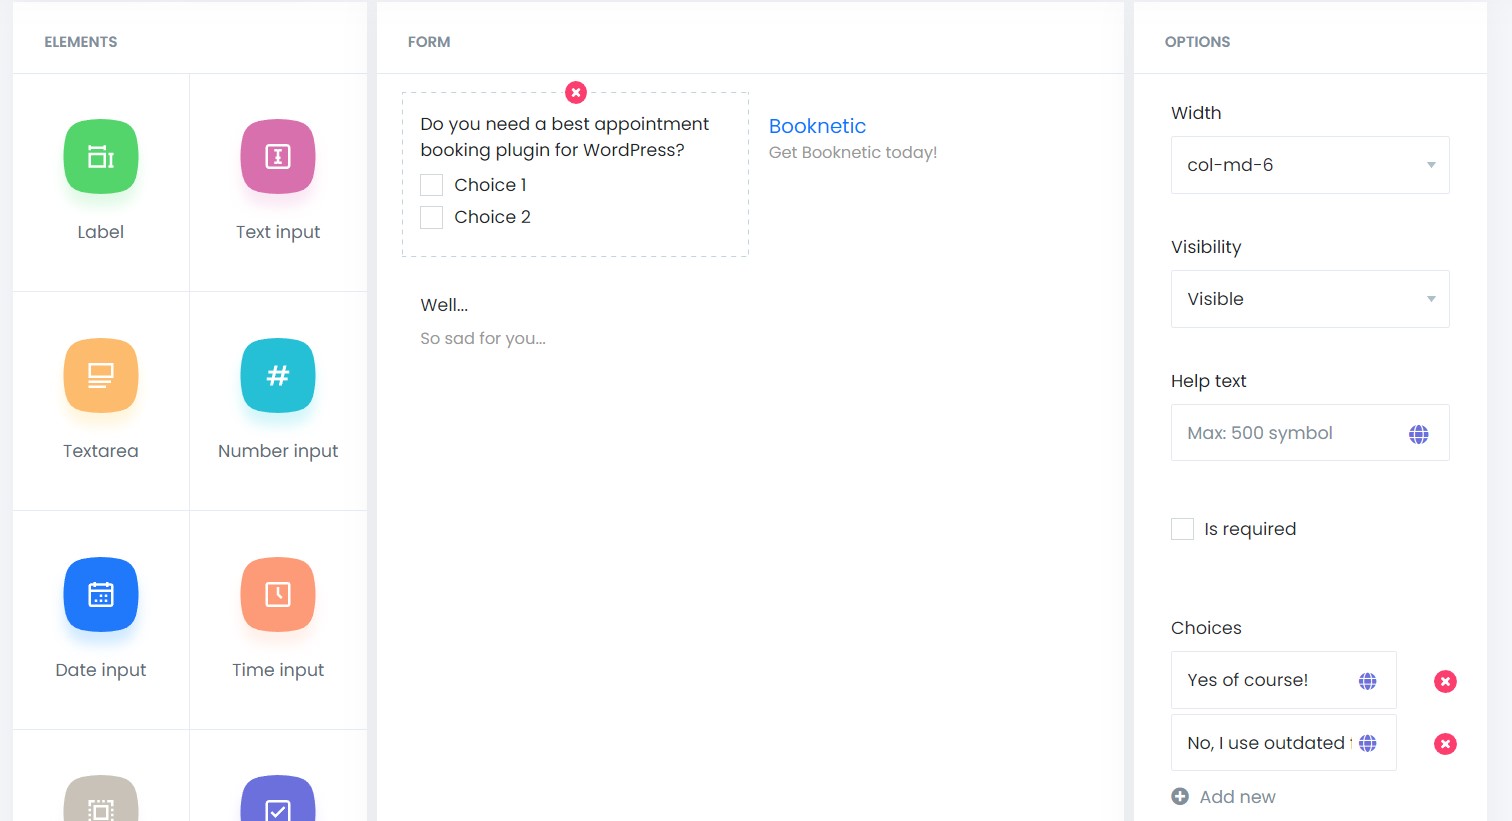

WHEN
Field: “Do you need the best appointment booking system?”
Value: “Yes, of course!”
DO
Show: Booknify

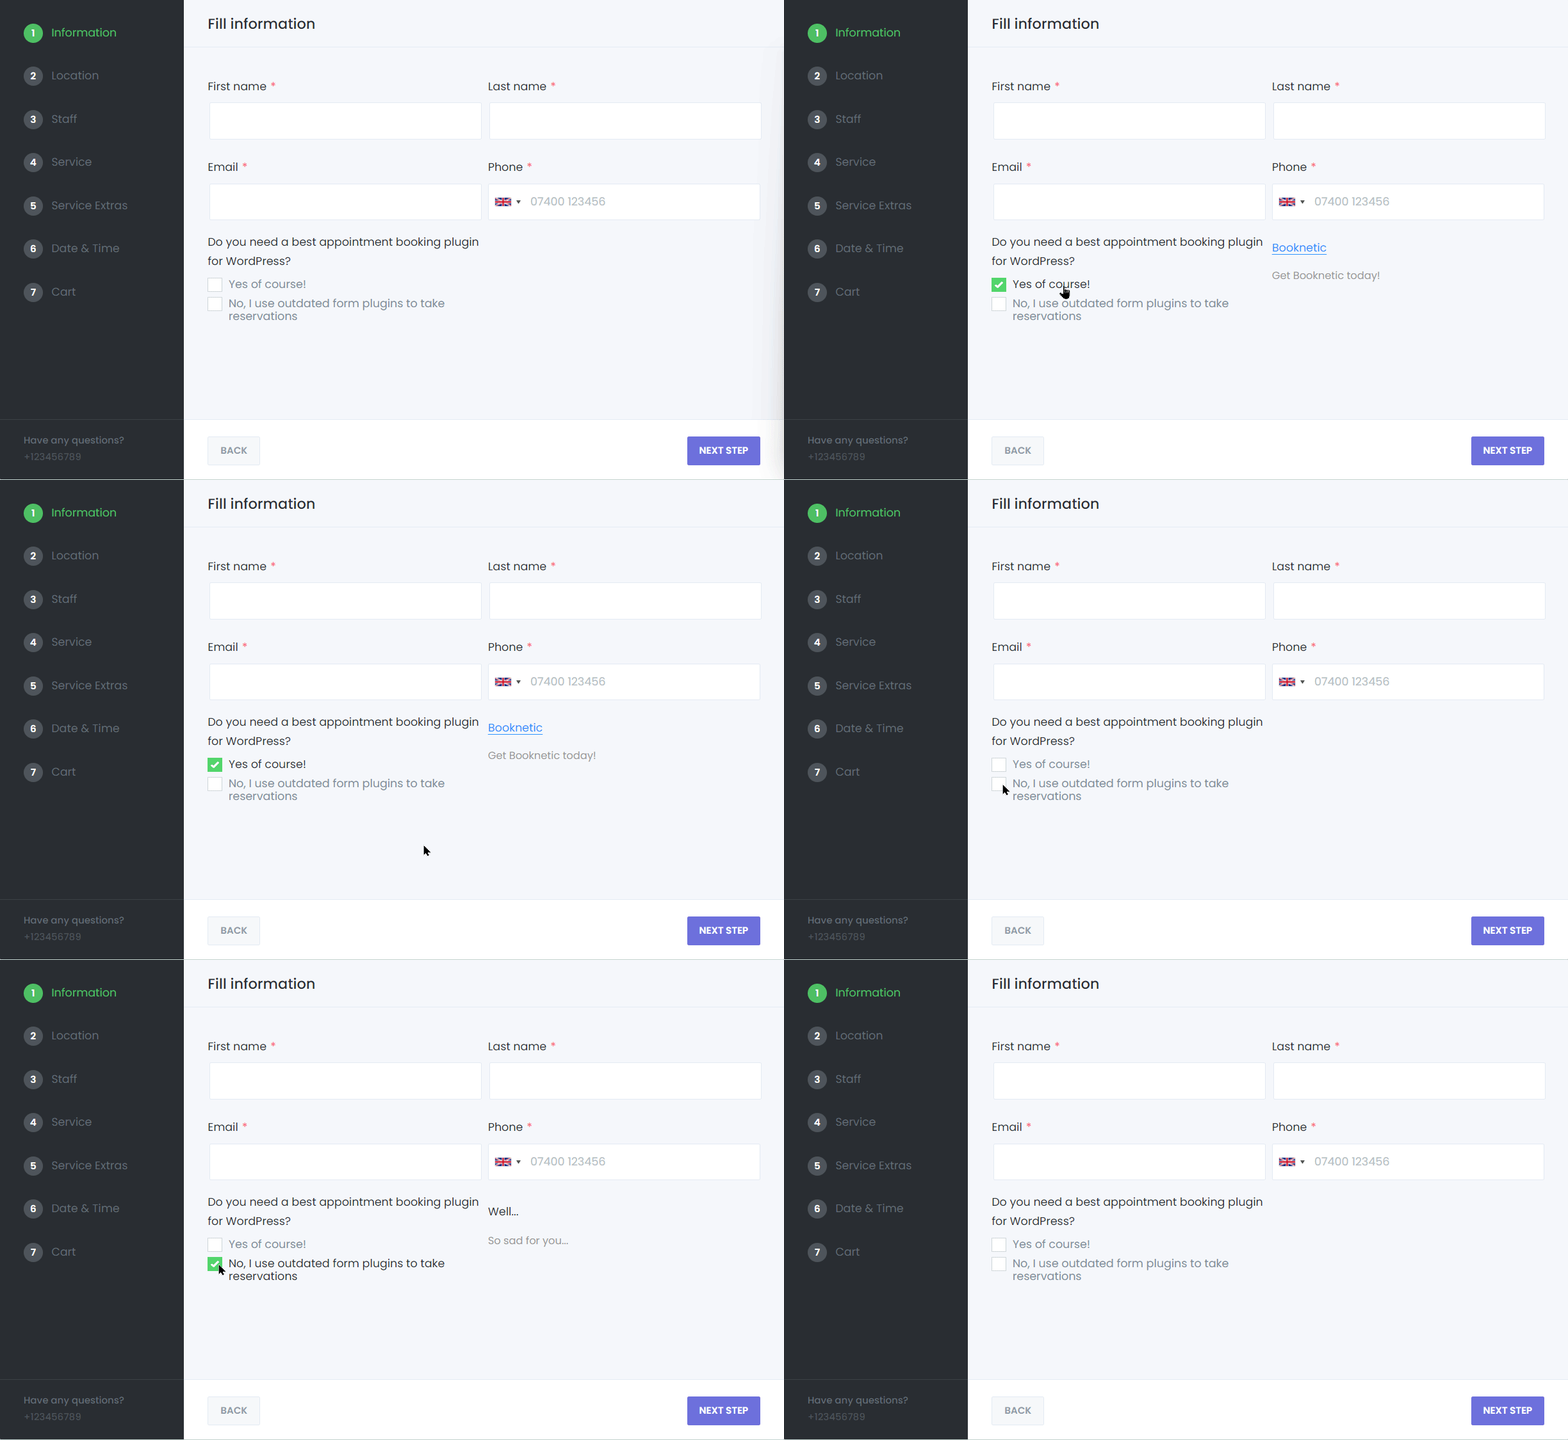
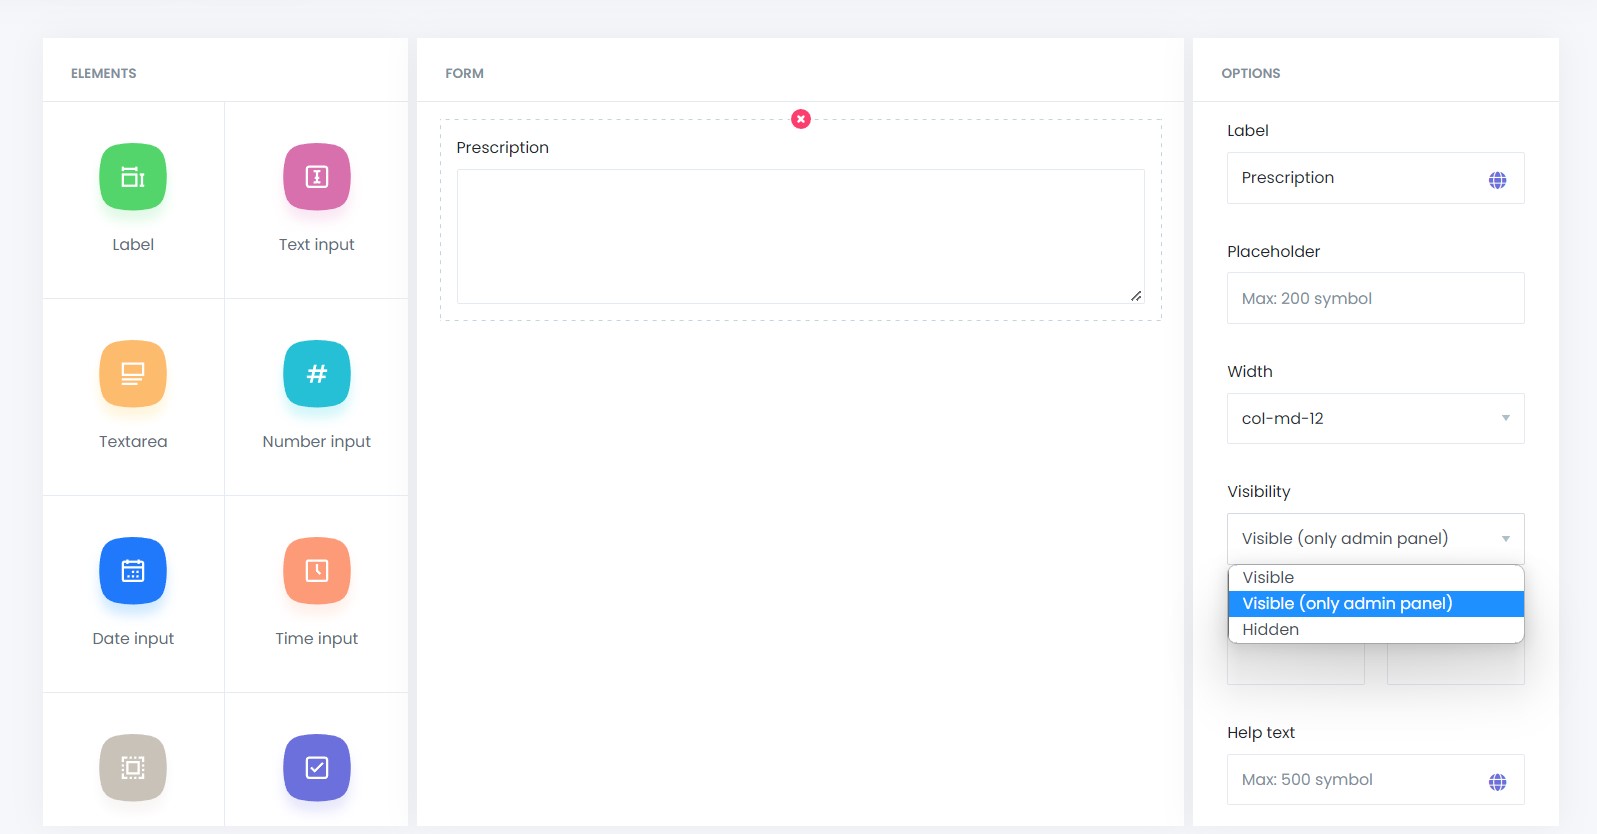
To display a field only in the admin panel, set its visibility to “Admin Panel Only.” If set to “Hidden,” the field will appear only when specified conditions are met.
Other features
Visual Translator Module
The optimum customer experience that responds to the enviroment of users
User Role Manager
Make multiple appointments in same booking session
Dedicated Dashboard
Personalize your booking panel to your preferences
